

IELTS Exam Registration: Simple Steps to Book the Exam
Many students often feel confused about IELTS Exam Registration. Sometimes, they end up filing wrong details and don’t cross-check them in their candidate login afterwards. Before doing IELTS, we suggest everyone apply for their Passport as soon as possible to avoid any harassment since a passport is mandatory to book the IELTS exam.
Sometimes, they go to nearby IELTS institutes or computer cafes and pay extra for the exam booking. It’s a simple process that can be done at home.
Some students are advised by their neighbours or peers to take the IELTS exam in faraway cities because of the ongoing myths that are far from reality. It’s a myth, and we have written a blog about it, which can clear the doubts in the reader’s mind.
Let’s see how to do IELTS Exam Registration in India at home without wasting any more time.
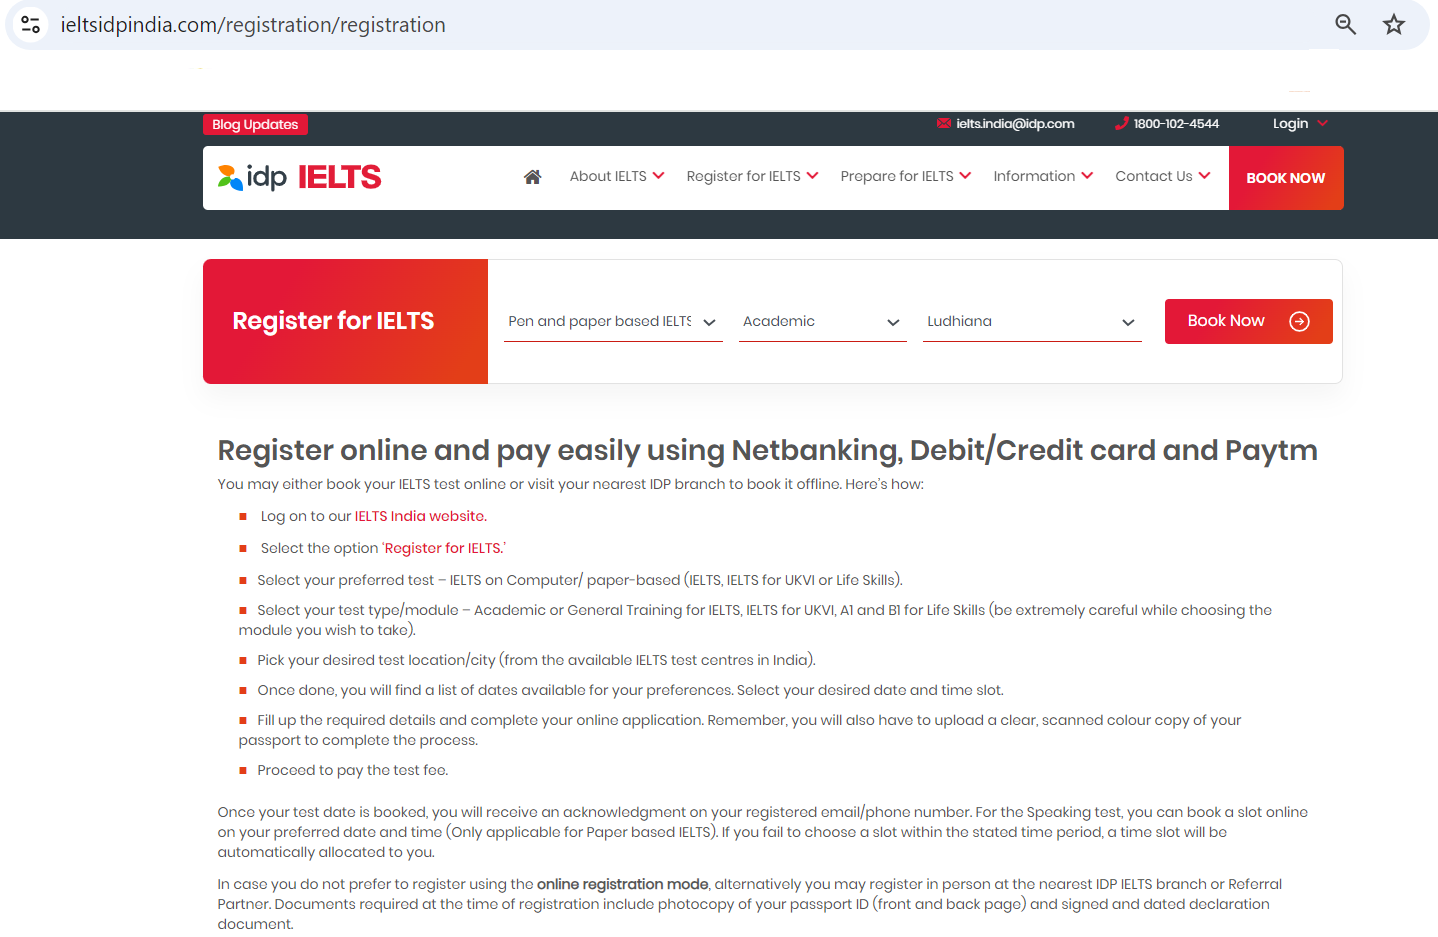
The official website for IELTS India is IELTS IDP India. You will see the Register for IELTS Option in the Header on the home page. Click on the drop-down option and then ‘Book Now.’
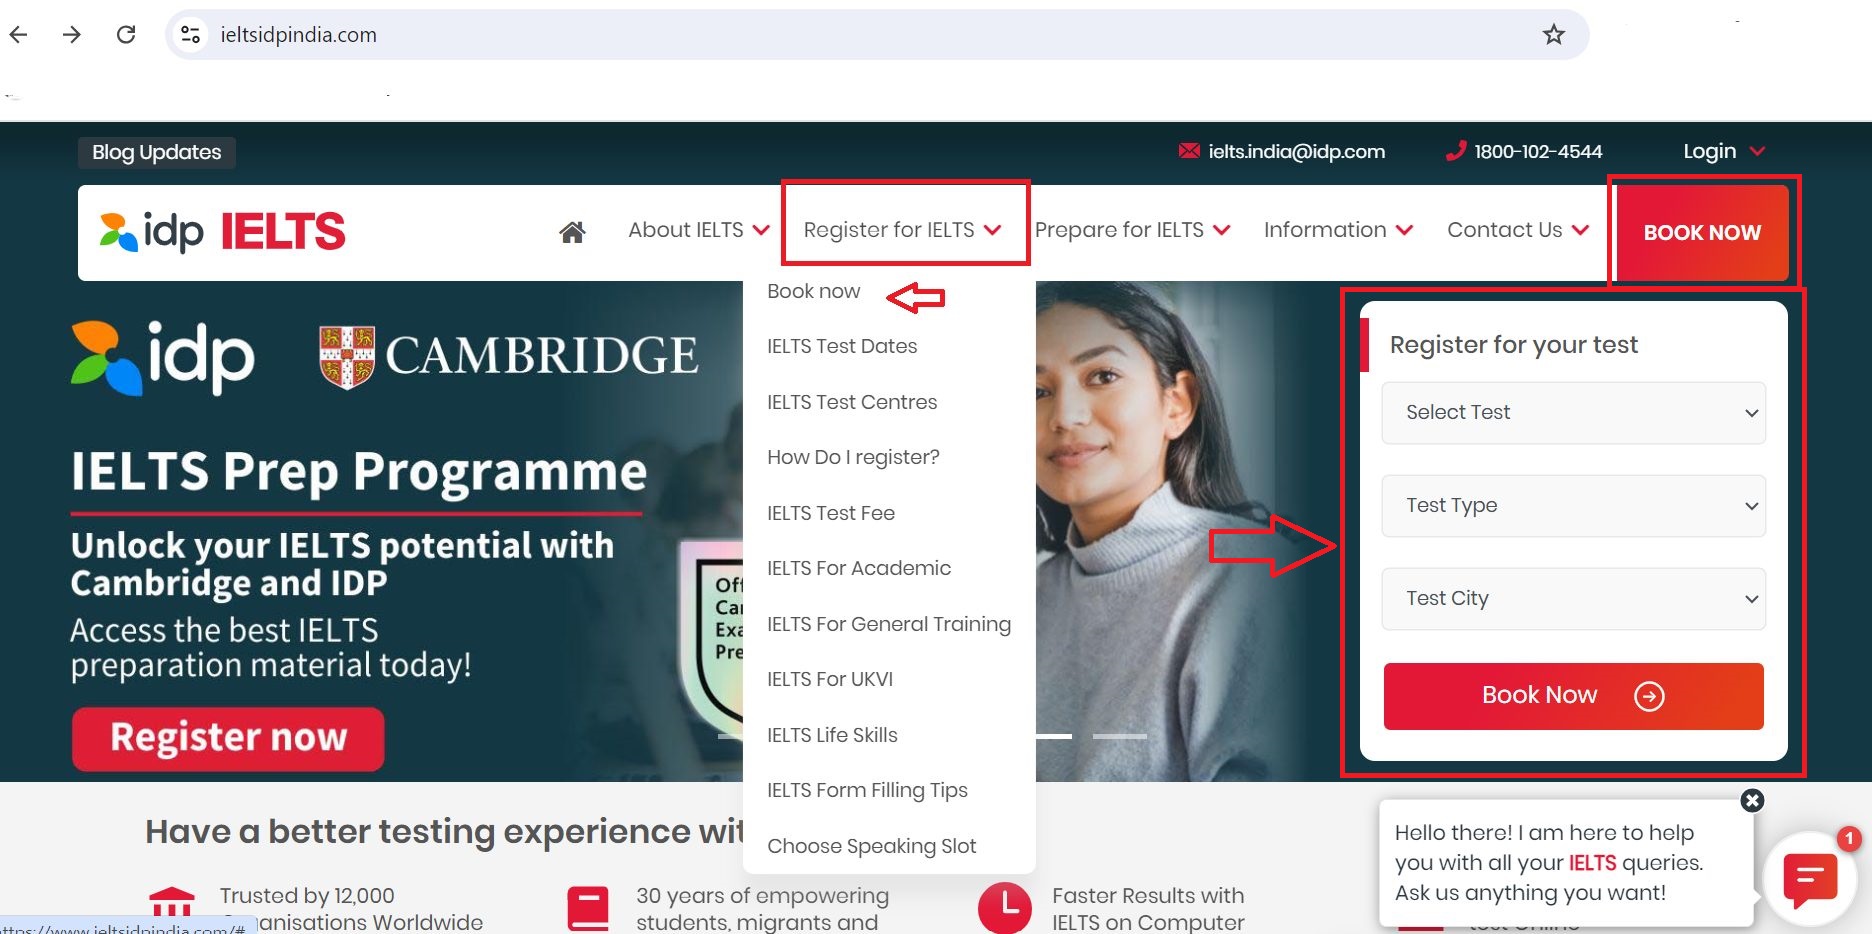
You will be directed to the next page, where you will have to choose your test Type:
- IELTS On Computer (Academic and General Training)
- Computer-Delivered IELTS for UKVI (CD IELTS For UKVI AC & CD IELTS For UKVI GT)
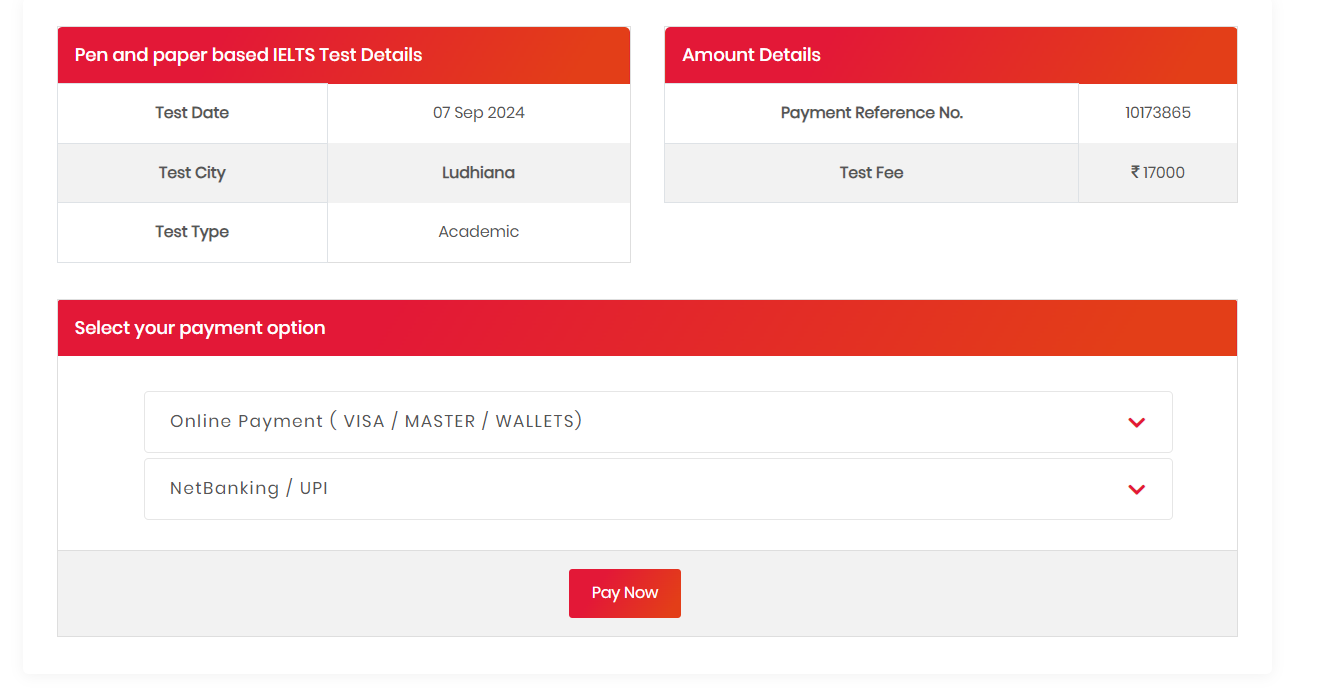
- Pen and Paper Based IELTS (Academic and General Training)
- Pen and Paper Based IELTS For UKVI (IELTS For UKVI AC & IELTS For UKVI GT)
- Life Skills (A1 & B1)
After choosing the exam type, choose the location. Many students are in the taboo that exam location matters. We have done a blog on it, telling why it’s a myth and why it’s better for you to stop believing such things.
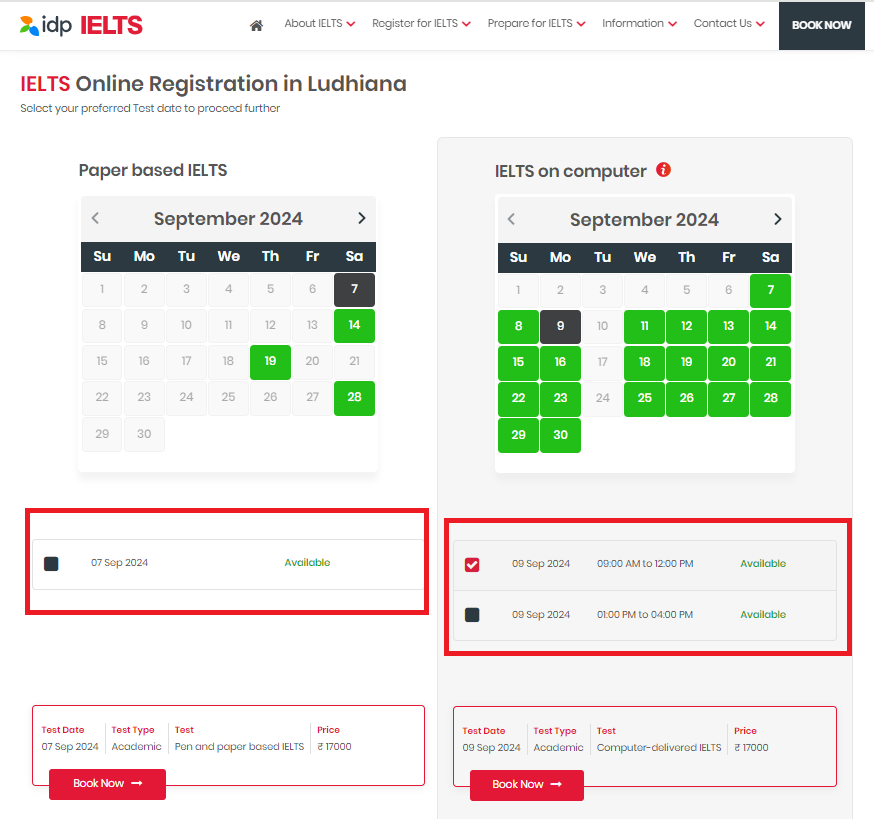
After choosing the right options, another page opens where you can choose between IELTS on paper and IELTS (4-5 dates in a month) on a computer, aka CD-IELTS. IELTS (a couple of days a month and two different time slots on the exam day, which you can choose as per your wish)
After clicking Book Now, a new page will open where you must put your details. you would need a passport to do that. From there, you must do the steps to complete the booking. We will tell you how to do it yourself without making a mistake.
Step – 1: Personal Details
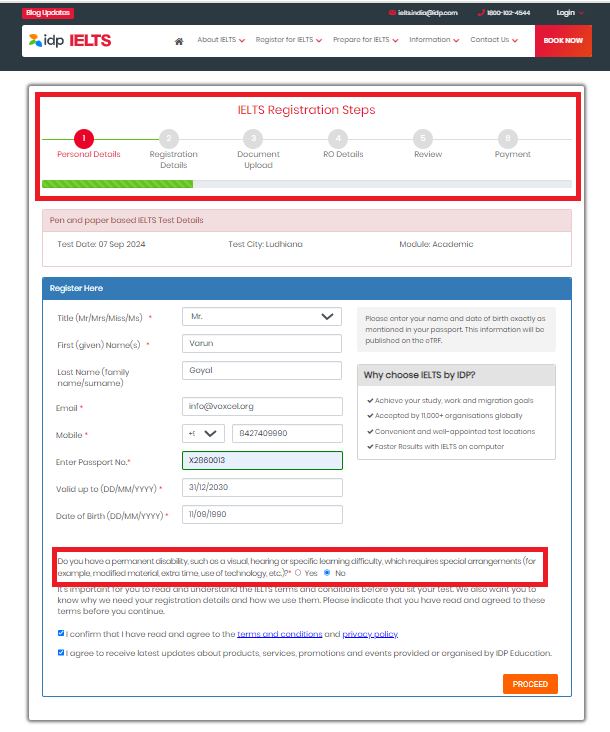
Note: If you are normal, mark “NO” in the permanent disabilities sections. However, if you have them, they have described them over here.
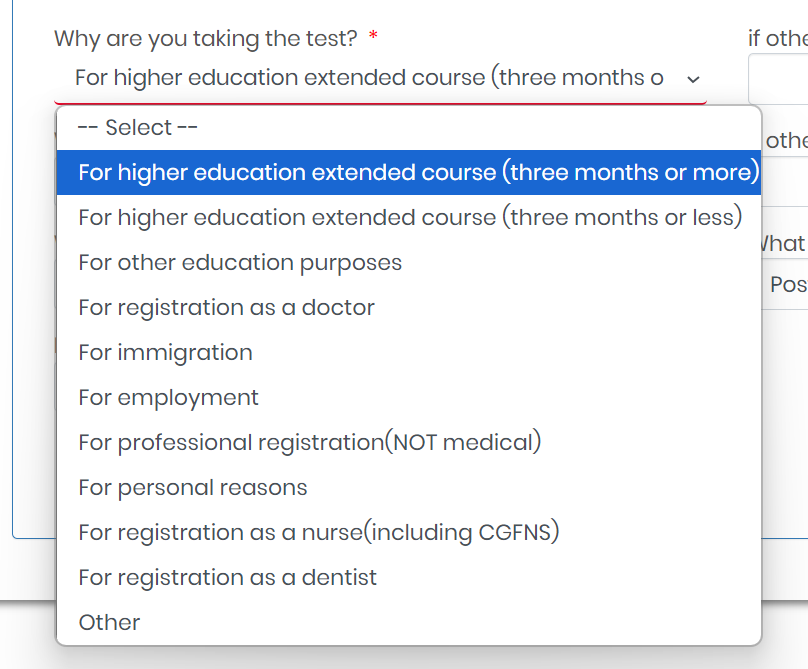
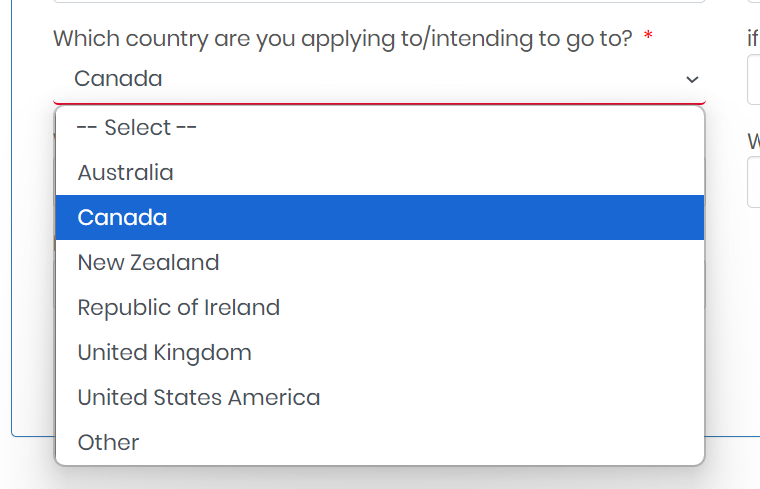
Step – 2: Registration Details
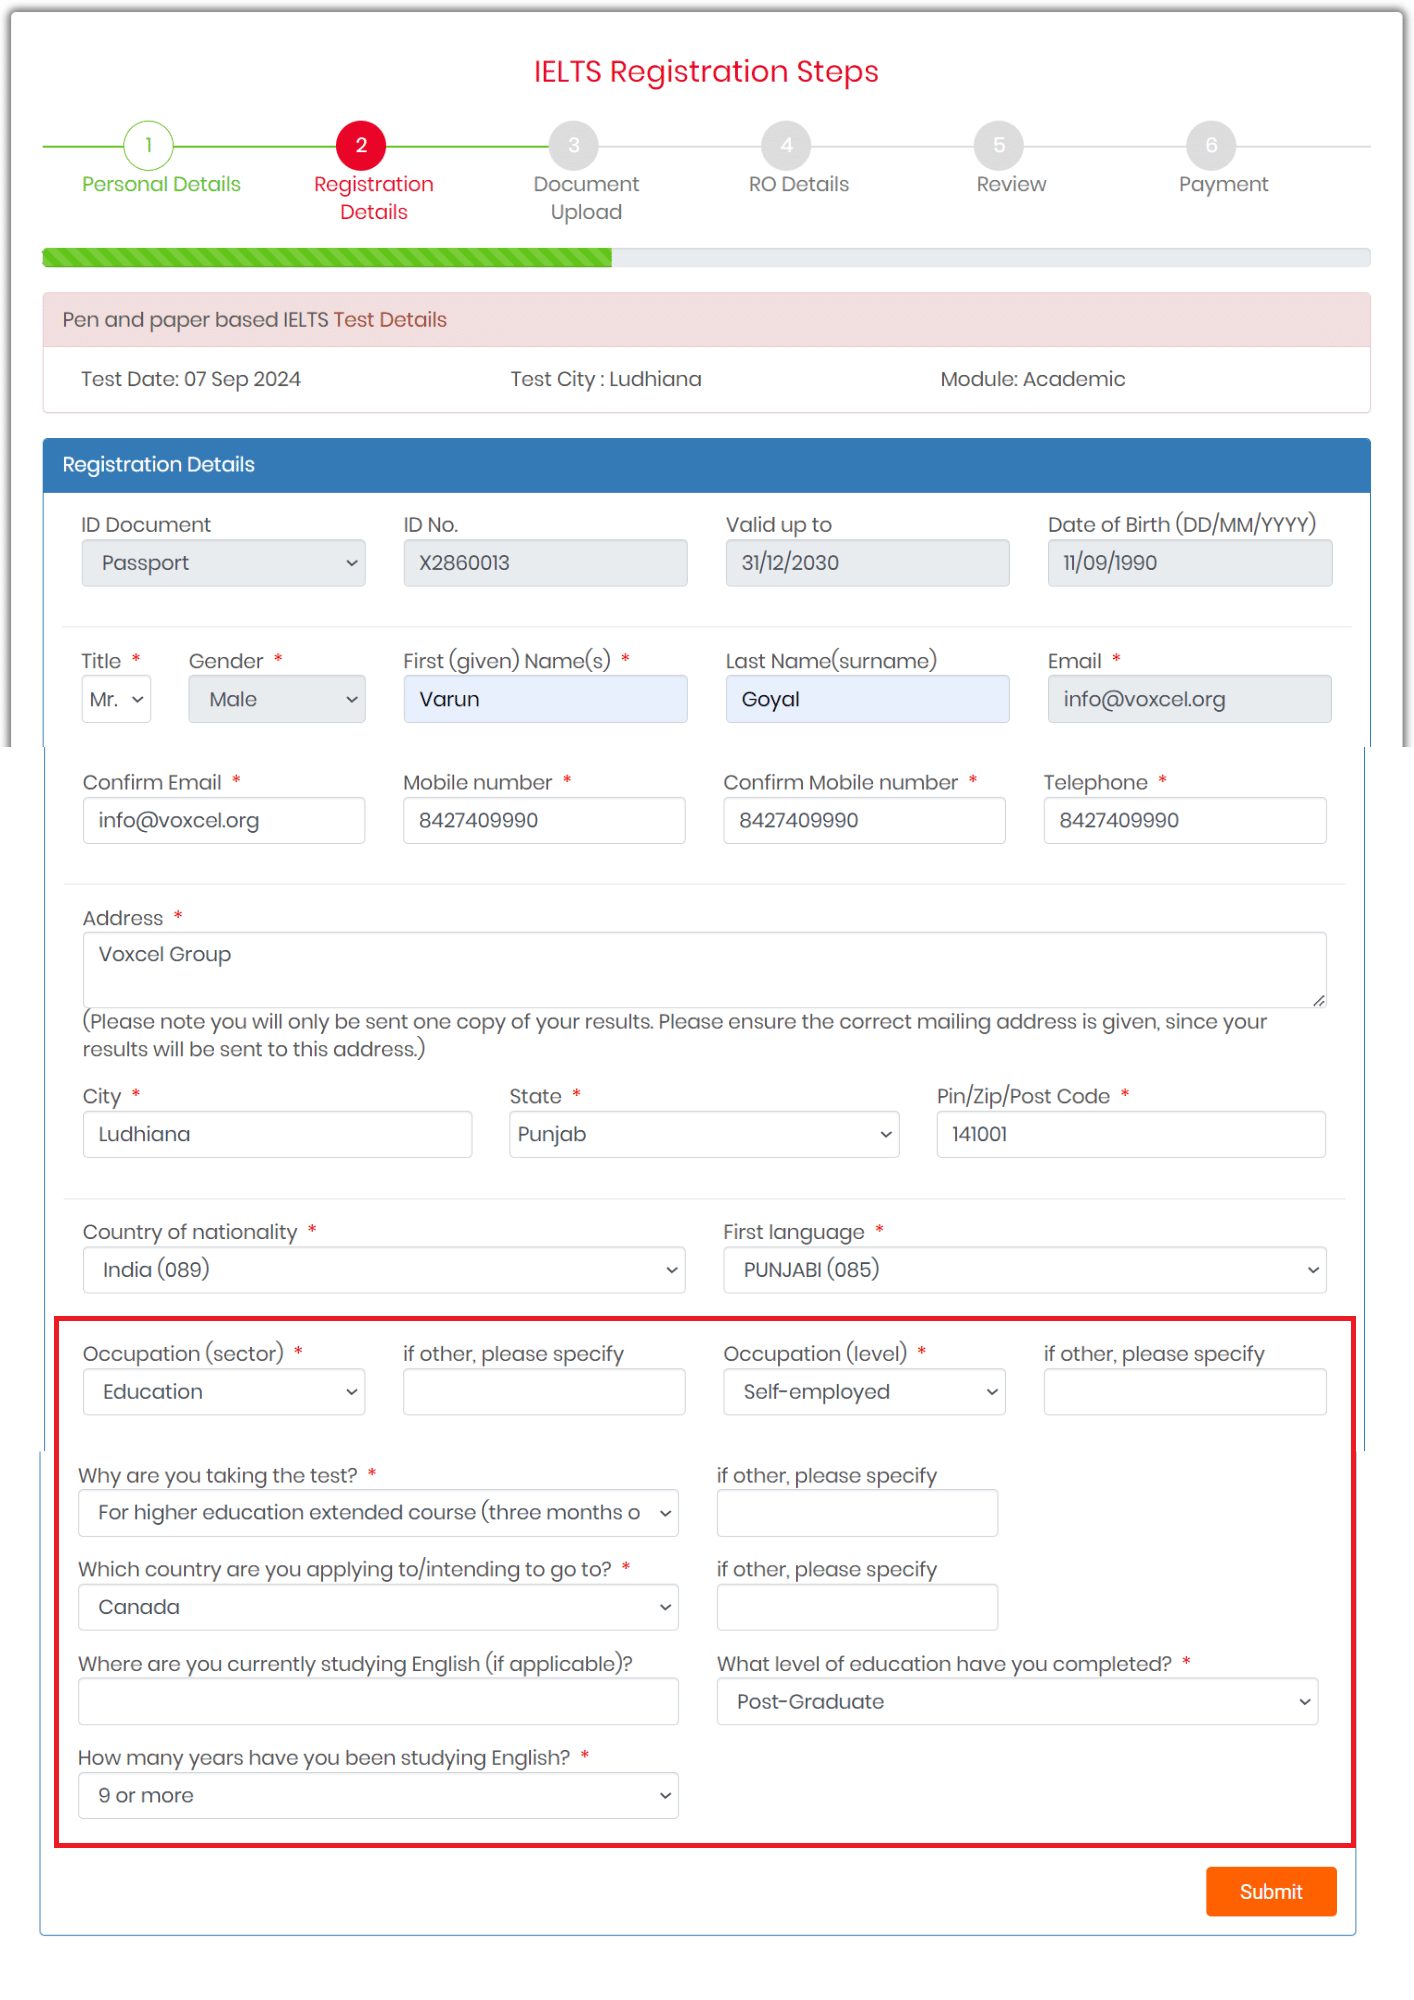
The details in the red column do not help the IELTS examiner with any IELTS decision, nor do IELTS share this data with any Embassy. They are for their internal data collection, possibly to know who is filing their exams so they can prepare strategies accordingly. However, still, if you are still a bit hesitant about the below options, we have made it easy for you. The first option is for Academic courses for more than three years. For PR purposes, choose ‘For Immigration’; for work permit purposes, choose ‘For Employment option’.
Step – 3: Document Upload
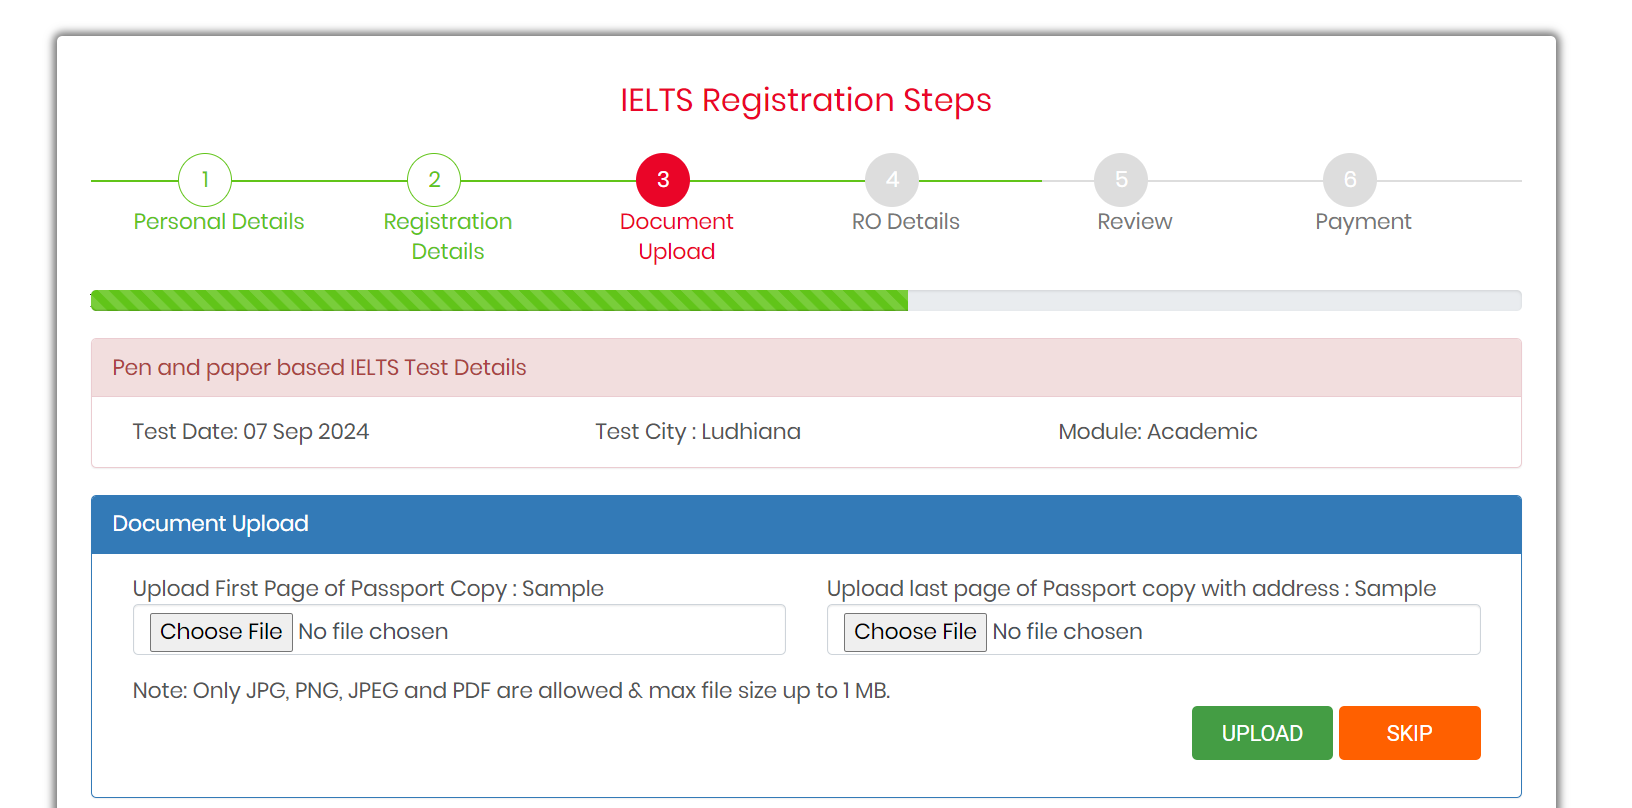
Upload the first page and the last page of your passport. If you don’t do it, don’t worry. When you take the exam, take a coloured printout of your passport front and back (which is mandatory to carry whether you load the scanned copies or not). You may get a text message related to it if you don’t upload it. Please ignore it. It’s a system-based text message.
Step – 4: RO Details
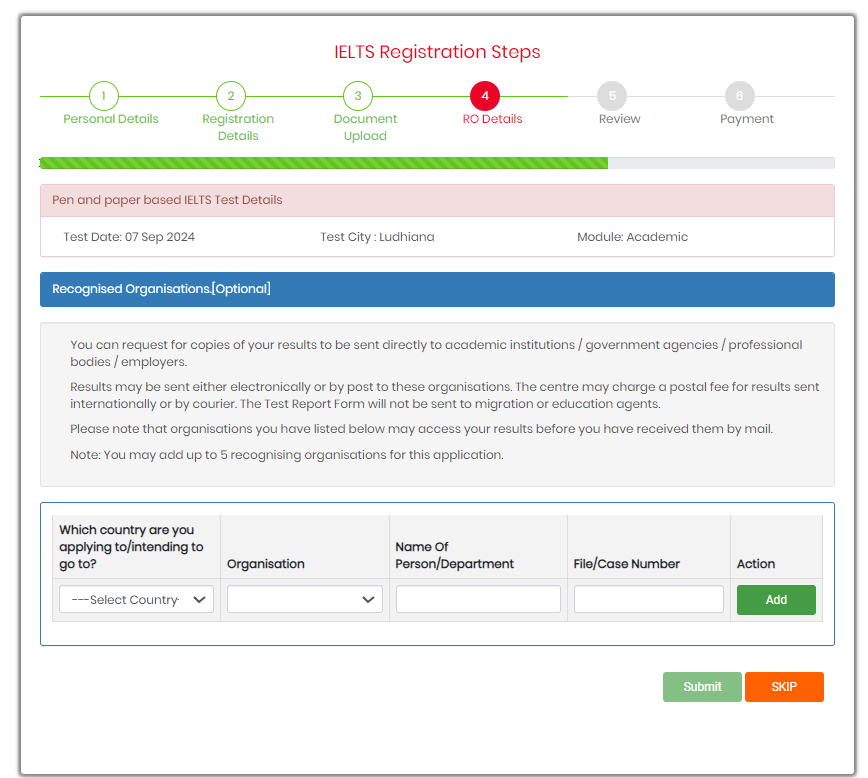
Skip the step if you don’t have your visa file with the embassy and want the result directly sent to them.
Step -5: Review

Confirm the details once again before the payment. If you ever miss something, like you filled in the passport number incorrectly and couldn’t pinpoint it, don’t worry. When you fill out the exam and get the login ID in your email, you can edit it under the DVS category (Data Verification Sheet).
Step – 6: Payment
Things to carry during your exam:
- Original Passport
- Acknowledgement ( you receive it two days before your exam; be it speaking or LRW, which one would be first)
- Coloured Printed Copy of Passport’s Front and Back Page
If you are looking for IELTS Online Tests, we have uploaded all the official Cambridge Modules to practice. Do it from here.